Adding a Physical Device as a Run Destination
To run applications you write in Xcode on your iPhone or iPad, a few one-time-only setup steps are required.
First, be sure Xcode is open.
Select the menu sequence Window → Devices and Simulators.
Then, connect your iPhone or iPad to your Mac using a cable.
The first time you do this, you will see an image something like this:
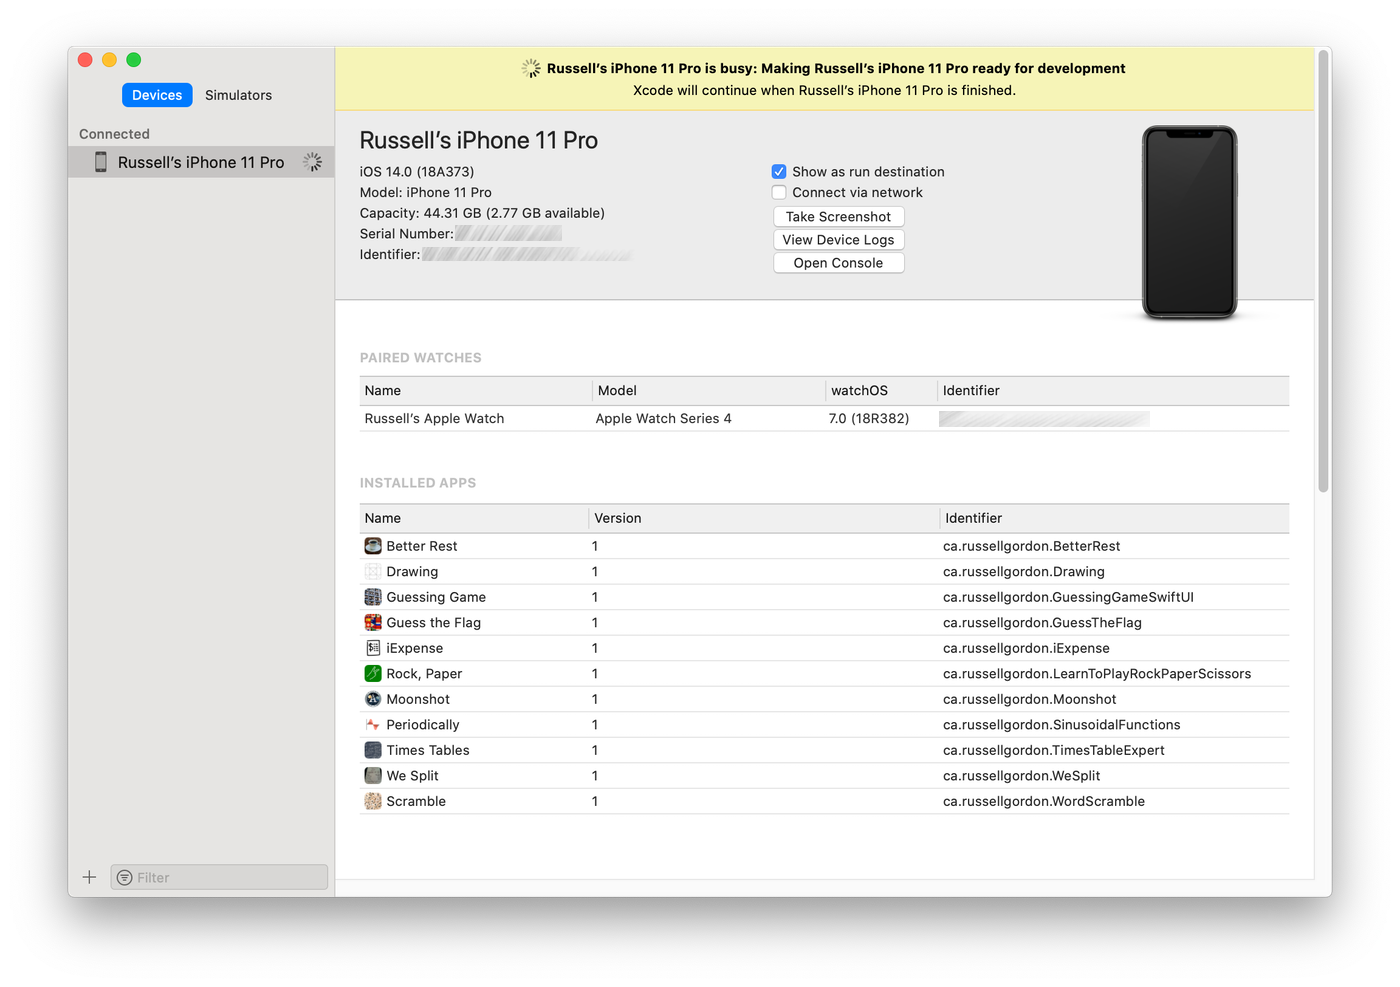
The yellow banner message is telling you that certain required files are being copied to and from your device.
That process may take a few minutes to complete; be patient. When it is finished, the yellow banner will disappear.
Next, you can select the device you've connected as a run destination.
At the top left of the primary Xcode window, click the list of devices:

Then select your device from the list (a connected physical device is always at the top of the list):

Now build the application:

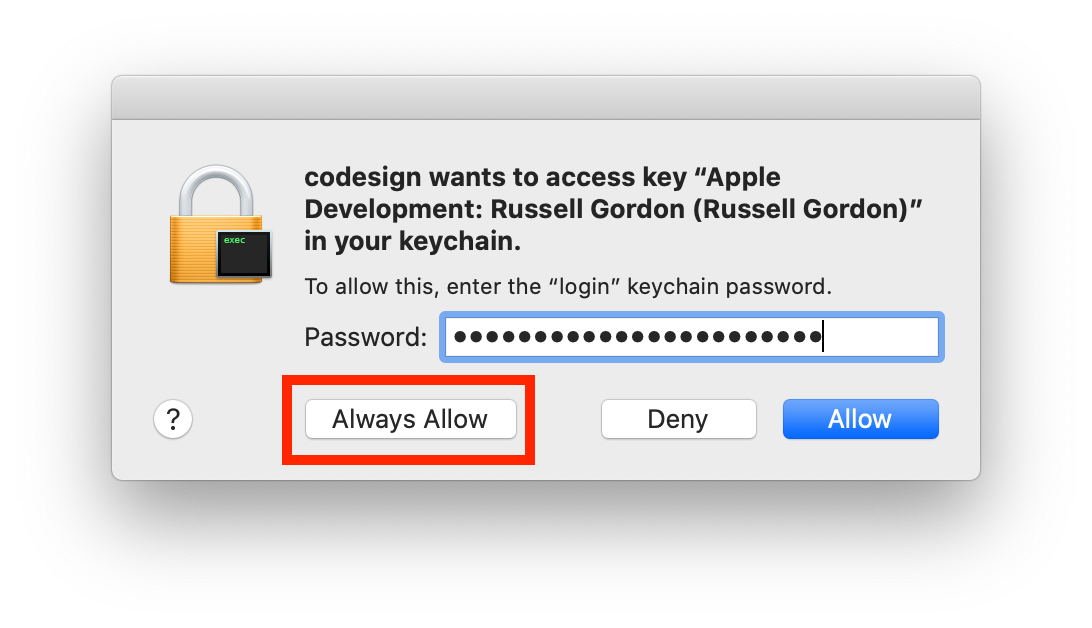
To use your developer certificate with the device, you'll need to allow access to your computer's keychain. Select Always Allow so that you don't have to do this every time you build an app for the device:
Next, you will likely see a message indicating that Xcode cannot run the application on the device, because, essentially, your iPhone or iPad currently does not "trust" the Mac that you are developing on to install applications upon it.
To create that trust, follow the instructions shown here.
The next time you build your application with your iPhone or iPad as the selected run destination, after a few seconds, you should see it open on your device.
Have fun! 🚀